
 Business Plans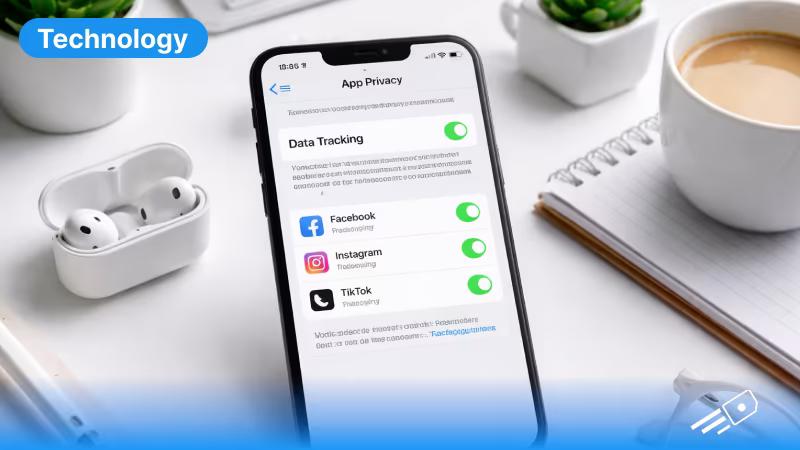
What Data Tracking on iOS Actually Means?
 When we talk about iOS data tracking, we mean how your iPhone logs info about your actions. Some of this tracking is helpful, for example, your phone remembers your location to give you turn-by-turn directions or tailors news based on what you read. This is helpful tracking (functionality and personalization). However, there’s also passive or background tracking: apps and services may collect data without you actively using them.
On iOS, data tracked can include things like app usage statistics, your approximate location (if allowed), and device behavior (like how often you pick up the phone). Apple describes scenarios like an app sharing your location or email address with ad companies as “data used to track you”.
When we talk about iOS data tracking, we mean how your iPhone logs info about your actions. Some of this tracking is helpful, for example, your phone remembers your location to give you turn-by-turn directions or tailors news based on what you read. This is helpful tracking (functionality and personalization). However, there’s also passive or background tracking: apps and services may collect data without you actively using them.
On iOS, data tracked can include things like app usage statistics, your approximate location (if allowed), and device behavior (like how often you pick up the phone). Apple describes scenarios like an app sharing your location or email address with ad companies as “data used to track you”.
How Your iPhone Tracks Daily Activity?
 Modern iPhones automatically keep tabs on your daily usage through built-in features. For example, the Screen Time tool records how long you spend in each app or category, how often you pick up your iPhone, and which apps send you the most notifications. In other words, iPhone activity tracking includes screen time and app-open frequency.
Notifications are also counted, so you can see which apps are most active. All of this is designed to help you understand and manage your habits. You might have seen weekly Screen Time reports pop up, showing graphs of your usage. These monitoring features are meant for your benefit: they give you insight, not penalize you. Using them is optional (you can turn off Screen Time if you like), but mostly this type of tracking just helps you stay aware of your own usage patterns.
Modern iPhones automatically keep tabs on your daily usage through built-in features. For example, the Screen Time tool records how long you spend in each app or category, how often you pick up your iPhone, and which apps send you the most notifications. In other words, iPhone activity tracking includes screen time and app-open frequency.
Notifications are also counted, so you can see which apps are most active. All of this is designed to help you understand and manage your habits. You might have seen weekly Screen Time reports pop up, showing graphs of your usage. These monitoring features are meant for your benefit: they give you insight, not penalize you. Using them is optional (you can turn off Screen Time if you like), but mostly this type of tracking just helps you stay aware of your own usage patterns.
How iPhone Location Tracking Works?
 Your iPhone uses a mix of GPS, cell towers, Wi-Fi networks, and Bluetooth beacons to pinpoint your location. GPS works best outdoors, while the others help fill in the gaps indoors or in weak signal areas. Apple requires your permission before any of this kicks in, but once granted, it's quite accurate. For example, navigation apps (like Maps) rely on GPS to guide you, weather apps use your location for local forecasts, and delivery or ride-share apps use it to know where to drop off your order. Crucially, iPhone location tracking runs only if you grant permission.
How to Check Your iPhone Location History?
 You can review your location history through iOS settings. To learn how to track iPhone location history on your iPhone, follow these steps (this is where iOS keeps your “Significant Locations”):
- Open Settings and tap Privacy & Security.
- Tap Location Services, then scroll to the bottom and tap System Services.
- Tap Significant Locations (you may need to enter your passcode or use Face ID/Touch ID). Here you’ll see a list of places you’ve visited frequently, grouped by city or region.
Understanding App Tracking Transparency (ATT)
Apple’s App Tracking Transparency is a privacy feature introduced in iOS 14.5. In simple terms, ATT forces iPhone app tracking to ask your permission before recording your activity across other apps and websites. When an app wants to track you, iOS will show a pop-up asking “Allow [App] to track your activity?” You get two choices: Allow or Ask App Not to Track. If you tap Allow, the app can use your device’s advertising identifier and share info for targeted ads. If you tap Ask App Not to Track, the app is blocked from accessing the IDFA and cannot link your activity across apps. This gives you control: many users simply deny tracking. Importantly, apps will still work normally regardless of your choice. You can always review or change these permissions later. Just go to Settings > Privacy & Security > Tracking – there you’ll see which apps have requested tracking, and you can toggle any on or off. In practice, ATT means you have the final say over cross-app data sharing, making tracking less “invisible.”How to Check iPhone Data Usage?
 If you want to check your data usage in iPhone, simply follow these steps:
- Open Cellular Settings: Go to Settings and tap on Cellular (or Mobile Data on some devices).
- View Your Total Data Usage: At the top of the screen, you'll see the total data consumed during your current billing period.
- Check App-Wise Data Consumption: Scroll down to see a breakdown of how much data each individual app has been using. This will help you check mobile data usage on iPhone in a better way.
Key iOS Privacy Settings You Should Review
 While you're poking around in Settings, it's also a great idea to give your privacy controls a once-over. Here's what to look at:
- Privacy & Security: Head to Settings > Privacy & Security. Think of this as your iPhone's privacy command center, where you can control what information your apps can actually get their hands on.
- App Tracking: Tap on Tracking to see which apps have asked to follow your activity around. You're in full control here; allow or block each app based on what feels right to you.
- Camera Access: Take a peek at the Camera section to see which apps can access your camera. If an app has no real reason to be snapping photos or recording video, go ahead and cut off its access.
- Control Microphone Access: Similarly, review the Microphone settings. Turn off access for apps that don’t require audio input to function.
Where Connectivity Fits Into Data Tracking
 Your network choice (Wi-Fi vs. mobile data) also affects tracking. When you use Wi-Fi, your phone data goes through that network, and providers or routers might log usage, but it isn’t counted against your phone plan. On cellular data, your carrier can see how much you use and roughly what kind (they count it for billing). In both cases, the iPhone itself still tracks app usage similarly.
One advantage of modern technology: eSIM can make managing this simpler. With an eSIM, you can easily switch between mobile data plans or carriers without swapping physical SIMs. If you are connected with a reliable eSIM provider like eSIM Cards, you also get an extra internet usage tracker on the website and app to track and control the data usage.
Your network choice (Wi-Fi vs. mobile data) also affects tracking. When you use Wi-Fi, your phone data goes through that network, and providers or routers might log usage, but it isn’t counted against your phone plan. On cellular data, your carrier can see how much you use and roughly what kind (they count it for billing). In both cases, the iPhone itself still tracks app usage similarly.
One advantage of modern technology: eSIM can make managing this simpler. With an eSIM, you can easily switch between mobile data plans or carriers without swapping physical SIMs. If you are connected with a reliable eSIM provider like eSIM Cards, you also get an extra internet usage tracker on the website and app to track and control the data usage.
How to activate eSIM on iPhone?
If you don’t know how to activate eSIM on iPhone, you can do it easily in a few minutes at home. If you don’t know the steps, there is a simple process that you can follow:- Check Device Compatibility: Make sure your iPhone supports eSIM (iPhone XS, XR, or newer models). Also, confirm that your carrier provides eSIM services.
- Get Your eSIM Details: Contact your carrier to receive an eSIM QR code, activation link, or carrier app details. You’ll need this to set up your eSIM.
- Open Cellular Settings: Go to Settings > Cellular (or Mobile Data) on your iPhone.
- Scan the QR Code: Select “Scan QR Code” and point your camera at the code provided by your carrier. Your iPhone will automatically detect and begin setup.
- Confirm Activation: Follow the on-screen instructions to confirm and activate your eSIM plan. This may include labeling your plan (e.g., Work, Personal).